|
Caulking can usually be found in the seams of two materials, on the corners, baseboards, doors and around the tub or envelope. In order to recaulk an existing seam or caulk a new seam of the area should be clean of debris. In other words, if you plan to recaulk your bathtub impeller then you will need to remove existing caulking. If you purchased the Pro Caulk system found on this page, then you will have an old caulking removal tool, otherwise you will use a large flat screwdriver and chisel hammer and scrape. If you are using this method, you should be careful not to damage the scraping bonding substrates or by scraping the bathtub or tile surfaces. Usually if you get a piece of the free caulk you can take it with a couple of pliers and pull it like a rope all the distance from the wall or maybe all the envelope. Beware of old or loose tiles, as removing the putty can cause the tile to pull the wall, breaking into the bottom of the tub. Sometimes it's a good idea to run the blue ribbon of the painter around the bottom tiles of the envelope to keep them in place and place an old blanket in the bottom of the tub to avoid breaking anything that falls off the wall and also to prevent its tools from scratching the existing surfaces. Similarly, you can also tape the top of the bath surface to an inch of a quarter away from the wall to help protect the bathtub in case your screwdriver or chisel slides. Once the old putty has been removed, take a green matorrata or a hard brush with or without soap and water and clean the seam surfaces until smooth, in the case of two wooden substrates such as doors, cabinets, to soften the area to be caulked, however they do not go beyond the area that the caulk will cover. A good caulking account is usually 1/8 "to 1/4". If the area you are caulking seems to be much larger than 1/4 "you may need to fill the vacuum with expansive foam or repair the substrate first. If you use spray foam, let dry then cut or sand so that excess is space to apply caulk for a good moisture-proof and esthetic seal. Using any of these methods it is important to wear gloves, protective clothing and goggles and also to maintain ventilation if you are working in a closed room. The next step after removing the old caulk and cleaning the area is to apply new caulking. A minor note, the material in the grout lines is not caulking and caulking will not adhere or replace grout. It is also best to replace a tile or a soap dish with a suitable adhesive or ceramic mortar. Caulking will not permanently adhere to objects of any significant weight to a wall or ceiling. It is best to consult with a local ceramic distributor for instructions on these and major repairs. Now as with most construction compounds there is an enormous amount of information and technical data to which caulking to use for any imaginable application. For general home Use there are three basic types silicone, acrylic and latex based. Caulk latex comes in white as well as a series of pastel colors. The silicone putty can usually be found in white, black and clear and acrylic caulking is usually white. Although caulking can be painted the best is just to get it in the right color to start. Silicone caulking is best for outdoor applications, but can be used anywhere. It is the most waterproof, but unless you are buying the Pro Caulk tools, it will be the hardest to work, especially for the surroundings of the tub. Latex caulking is widely used for most indoor applications and will be the easiest to work and clean. Once opened Caulk is not maintained for more than a couple of weeks, so be sure to get the right amount. The tube will tell you the coverage. Caulking is available in a pinch tube or a cartridge that fits into a caulking gun. Choose what you think will be easier to use. Of course, if you have a considerable amount of caulking to make, cartridges and a gun will be more economical and faster to use. It is easy to find you to know about this topics to visit the site: The Review Search 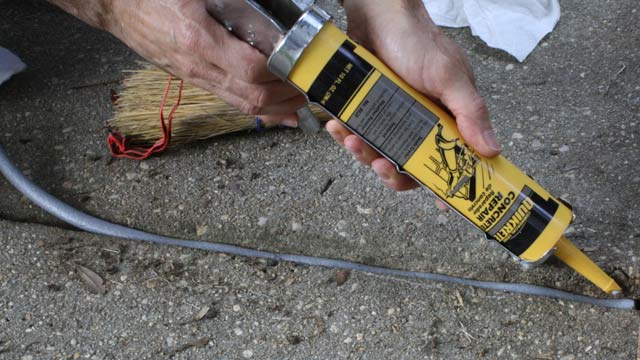
0 Comments
Leave a Reply. |
